Introduction
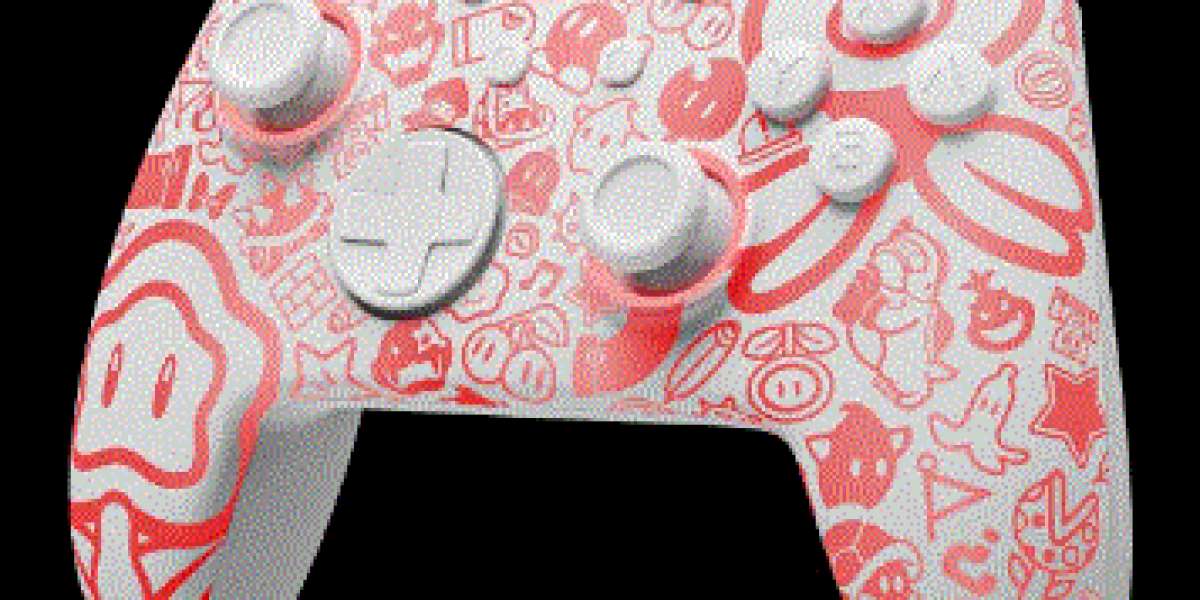
Your Mario Switch controller is not just a tool for gaming; it's a cherished accessory that enhances your Nintendo Switch experience. To ensure it remains in top condition and serves you well for years to come, regular cleaning and maintenance are essential. This guide will provide you with tips and techniques for keeping your Mario Switch controller clean, functional, and looking as good as new. Mario switch controller
Why Regular Maintenance is Important
Regular maintenance of your Mario Switch controller helps:
- Prevent Malfunctions: Dust, dirt, and grime can accumulate in buttons and joysticks, leading to stickiness and unresponsiveness.
- Prolong Lifespan: Proper care can significantly extend the life of your controller.
- Enhance Performance: Clean controllers perform better, providing a more enjoyable gaming experience.
- Maintain Aesthetic Appeal: Keeping your controller clean ensures it remains vibrant and visually appealing.
Cleaning Supplies You’ll Need
Before you start, gather the following supplies:
- Microfiber Cloth: Gentle on surfaces and effective at picking up dust and dirt.
- Cotton Swabs: Ideal for cleaning small crevices and around buttons.
- Isopropyl Alcohol (70% or higher): Effective for disinfecting and removing grime.
- Compressed Air: Helps blow out dust and debris from hard-to-reach areas.
- Soft Brush: Useful for brushing away loose dirt and dust.
- Disinfectant Wipes: For sanitizing the controller surface.
Step-by-Step Cleaning Guide
Power Off and Disconnect: Ensure your controller is turned off and disconnected from the Nintendo Switch.
Initial Dusting:
- Use a soft brush or compressed air to remove loose dust and dirt from the controller’s surface and between buttons.
Surface Cleaning:
- Dampen a microfiber cloth with a small amount of isopropyl alcohol.
- Wipe down the entire surface of the controller, including the back, sides, and buttons. Avoid soaking the cloth as excess liquid can damage electronic components.
Cleaning Buttons and Joysticks:
- Use cotton swabs dipped in isopropyl alcohol to clean around the edges of the buttons and joysticks. Rotate the joysticks and press the buttons repeatedly while cleaning to ensure you reach all areas.
- For deeper cleaning, use the cotton swab to get into crevices around the buttons.
Disinfecting:
- Use disinfectant wipes to sanitize the controller, especially if it is used by multiple people. Ensure the wipes are not overly wet to prevent moisture damage.
Drying:
- Allow the controller to air dry completely before using it again. This ensures all alcohol and cleaning solutions have evaporated.
Preventative Maintenance Tips
- Regular Cleaning: Make it a habit to clean your controller at least once a month, or more frequently if it is heavily used.
- Storage: Store your controller in a cool, dry place away from direct sunlight and dust. Consider using a protective case.
- Handle with Care: Avoid eating or drinking while using your controller to prevent spills and crumbs from causing damage.
- Use Protective Covers: Silicone covers and button caps can help protect the surface and buttons from dirt and wear.
Troubleshooting Common Issues
Sticky Buttons:
- If buttons remain sticky after cleaning, try using a small amount of isopropyl alcohol on a cotton swab and pressing the button repeatedly to work the alcohol into the mechanism.
- For persistent issues, disassembly may be required. Refer to the controller's manual or professional service if needed.
Unresponsive Joysticks:
- Drift and unresponsiveness can sometimes be resolved by thoroughly cleaning the joystick mechanism with isopropyl alcohol and compressed air.
- Calibration in the Nintendo Switch settings can also help restore functionality.
Connectivity Issues:
- Ensure the controller is fully charged and firmware is up to date.
- Reset the controller by pressing the small reset button (usually located on the back or underside).
Conclusion
Maintaining your Mario Switch controller through regular cleaning and careful handling ensures it stays in optimal condition for a long time. By following the steps outlined in this guide, you can prevent common issues and enjoy a consistently high-quality gaming experience. A clean and well-maintained controller not only performs better but also continues to bring joy with its vibrant Mario-themed design.


